
You have probably seen many other posts on how to run Django using docker - dockerize. So why should you bother with this one? This post may contain some of the information you have already come across before on this topic but you also get my tips and tricks as you read along. Well, not exactly all mine but I put it together because they are things I wish I knew when I started playing with docker.
Here is the link to the code in case you want to clone and run it right away.
This post makes some assumptions about the knowledge needed to proceed. One of them is that you are at least familiar with docker, you have it installed, you know the difference between an image and a container. I may do an intro post about docker in the future. Additionally, you should be familiar with Django. Here are some useful links for the above tools.
The code I will be sharing in this post is developed and tested on Ubuntu 18.04. Feel free to customize it to your own platform.
Let us make a sample Django project called djdocker. To do so, create a folder called djdocker and open it in vs code (This is important). Create a virtual environment first using the command below:
python3 -m venv env
source env/bin/activate
pip install django
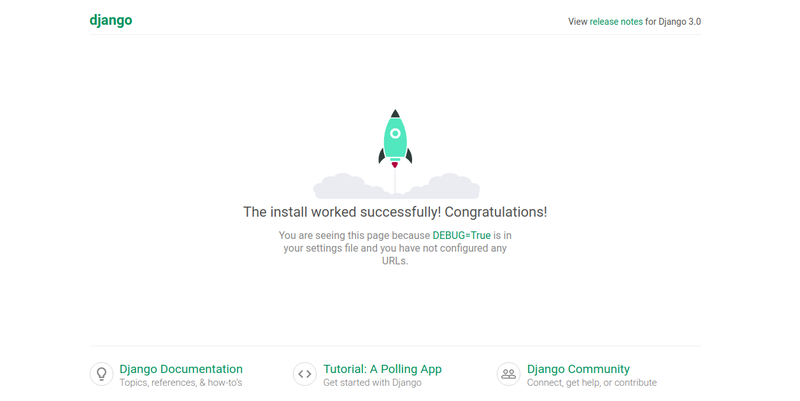
django-admin startproject djdocker .We have created a virtual environment called env using python 3. We then activate the environment and install Django. we then start a new Django project called djdocker in the currently open folder. The period at the end of the sentence is important. You should now test your new project by running the command below and visiting the link http://127.0.0.1:8000/ in your browser.
python manage.py runserver
If you see the screen below, it means Django is installed and we can proceed to the main task at hand.
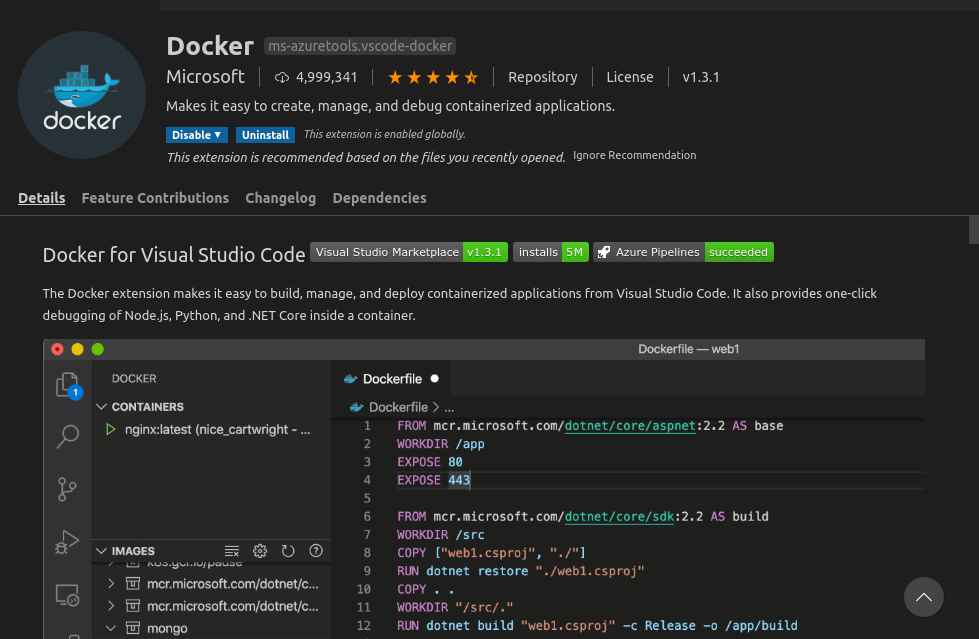
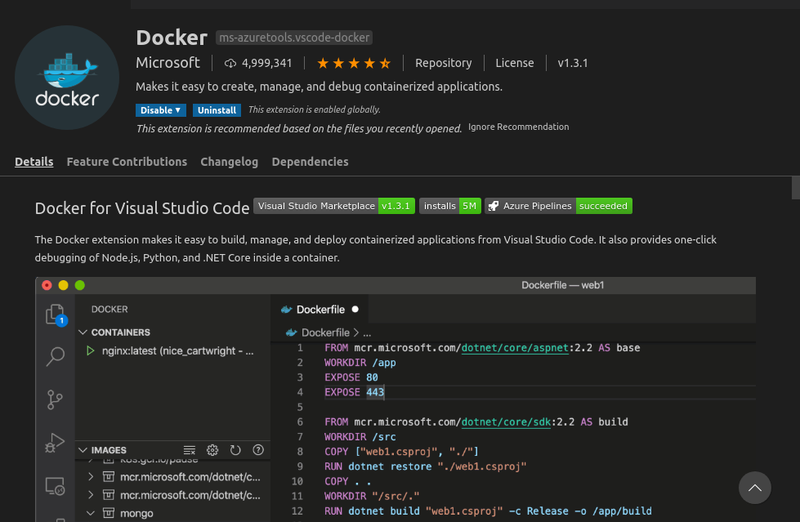
We will start by adding the vs code. Go to your extensions tab and search for docker. You should then install the extension that looks like the one in the image below.
Press the key combination of ctrl + Shift + P which will bring up the command pallet. Type inside the pallet "add docker files to workspace" then press enter. Type in the language(python) and framework(Django). Select yes to the compose file which we will be using in a future post. Press enter to select manage.py and the subsequent port 8000. Four files will be generated for you. Lets have a look.
.dockerignore file is similar to your .gitnore git file(You have initialized git in your project right?). It prevents bloated image build by excluding unnecessary files from the image context.
docker-compose.debug.yml and docker-compose.yml are used when setting up docker compose. Stay tuned for a future article on this.
The Dockerfile file :) is where the action is. A sample of the generated file is shown below
# For more information, please refer to https://aka.ms/vscode-docker-python
FROM python:3.8-slim-buster

EXPOSE 8000

# Keeps Python from generating .pyc files in the container
ENV PYTHONDONTWRITEBYTECODE 1

# Turns off buffering for easier container logging
ENV PYTHONUNBUFFERED 1

# Install pip requirements
ADD requirements.txt .
RUN python -m pip install -r requirements.txt

WORKDIR /app
ADD . /app

# Switching to a non-root user, please refer to https://aka.ms/vscode-docker-python-user-rights
RUN useradd appuser && chown -R appuser /app
USER appuser

# During debugging, this entry point will be overridden. For more information, please refer to https://aka.ms/vscode-docker-python-debug
CMD ["gunicorn", "--bind", "0.0.0.0:8000", "djdocker.wsgi"]
Line 1 specifies the docker image we will use. In this case a python image based of the slim version of the Debian buster version. You can use other versions but this one will do the job just fine.
Line 4 tell the running container to accept connections on port 8000 which is directly related to the port we are running Django on line 24.
Line 13 and 14 we are copying the requirements.txt file to the image and installing the dependencies. This is a good point to update the requirements.txt file mentioned above since docker command generated one for us with Django and gunicorn.
Line 16 then 17 we create a direct to hold our code and copy the code to that directory
Line 20 and 21 with create a non-root user which is a good practice and set that as our user.
Line 24 is where we run our application and you will notice we are using gunicorn instead of the development server and accepting connections on port 8000.
Right click inside your Dockerfile and select Build image to start your image build. The build may take some time the first time because it has to download some files. When it is finished, go to http://localhost:8000/ and voila, you should be able to see our "The install worked successfully! Congratulations!" page.